If you enjoyed navigating the treacherous waters of Dead Rails on sails, you'll be thrilled with the latest update to Dead Sails, despite its challenging new additions. Mastering the Seven Seas and taking down the fearsome Kraken might seem daunting, but fear not—there's no guesswork involved. I've put together this comprehensive **Dead Sails Kraken guide** to help you navigate the new content, accelerate your progress, and amplify your enjoyment.
Recommended Videos
Table of contents
- Dead Sails Kraken Boss Guide
- Dead Sails Kraken Tips And Tricks
- How to Defeat the Kraken Boss in Dead Sails Kraken
Dead Sails Kraken Boss Guide
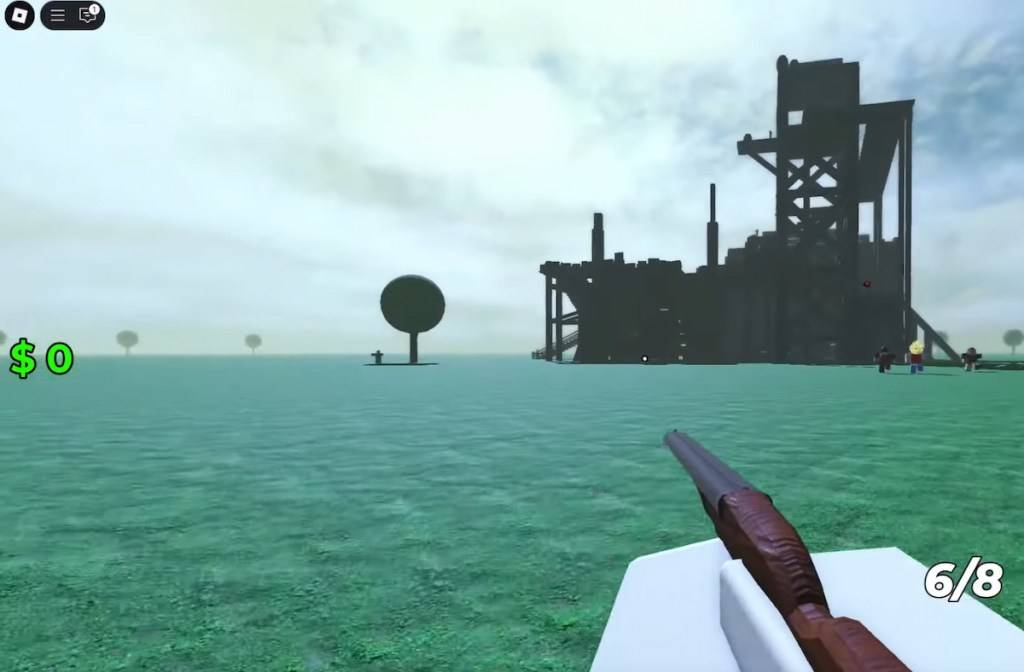
Your journey begins in the heart of town, across from the Gun Store and Hospital and in front of the Trading Hut. Start by shedding any unnecessary loot and gearing up. In my opinion, a Rifle is your best bet here. Priced at just $75, it packs enough punch to fend off most threats, at least temporarily. Don't forget to purchase coal to keep your boat's old-school engine running smoothly.
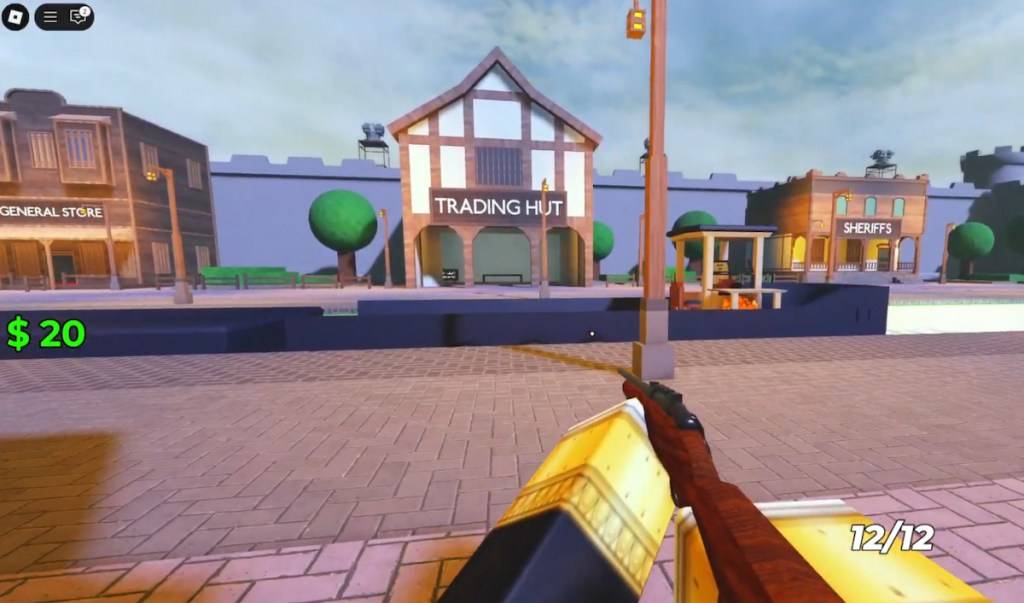 Screenshot by Destructoid
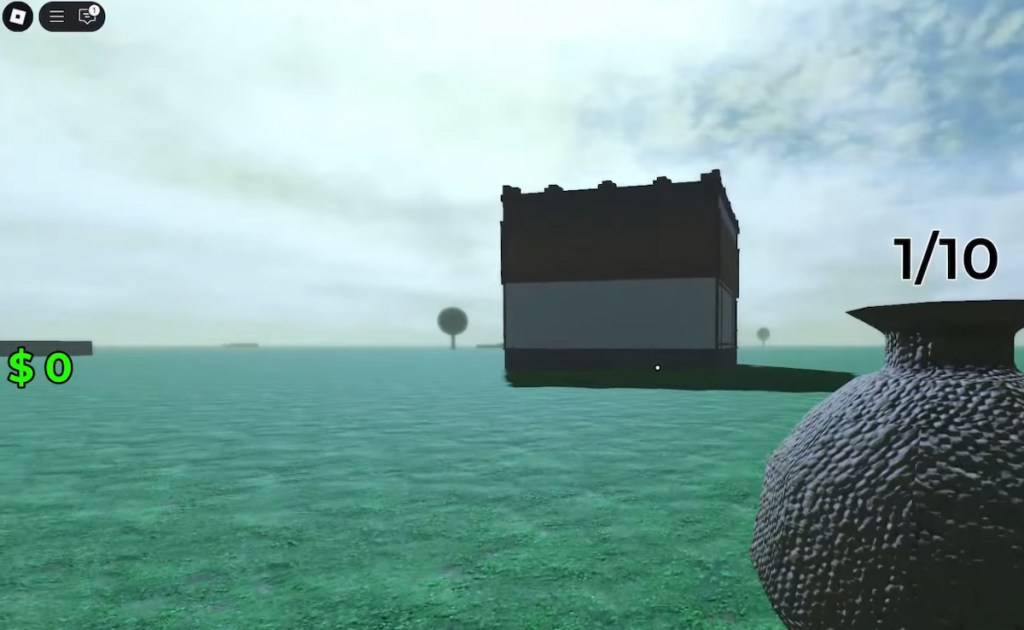
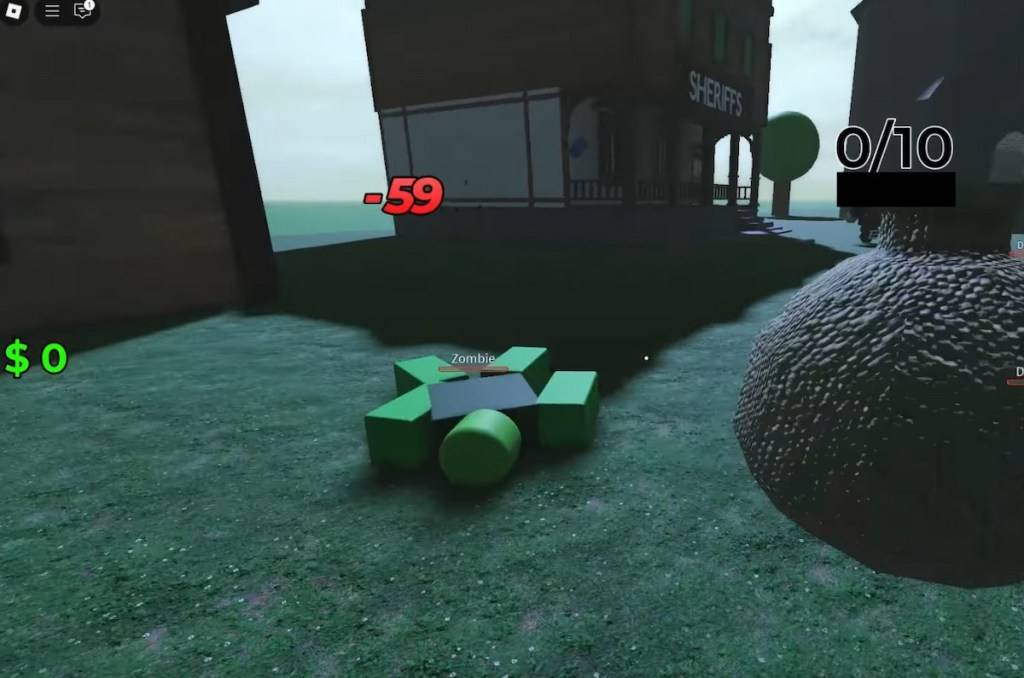
The next town lies 10,000 meters away, so simply get your boat moving. You can choose to stop and engage Zombies and Drowned for loot, but I wouldn't recommend it as the side houses don't yield much. To restart the ship, just add more coal and get going again. Don't be alarmed by the worm on the right; it's harmless. Wait until you reach the second safe zone to sell your loot, but be vigilant of Big Foot and Zombie mobs along the riverbanks.
 Screenshot by Destructoid
After reaching the second safe zone/town, you'll encounter numerous burning buildings teeming with enemies. It's worth clearing them out if you're with friends, but solo players may find it time-consuming due to scattered spawn points. Around 12,000 meters, you'll find a castle-like house filled with Drowned but also stocked with Shotgun ammo and other valuable loot. Use these resources wisely.
 Screenshot by Destructoid
Dead Sails Kraken Tips And Tricks
By now, you're familiar with the game's core loop—kill, loot, repeat, and hope for enemy defeat. To elevate your gameplay, focus on efficiency. Use your boat as a mobile inventory, emptying your bag upon return to save time and space.
 Screenshot by Destructoid
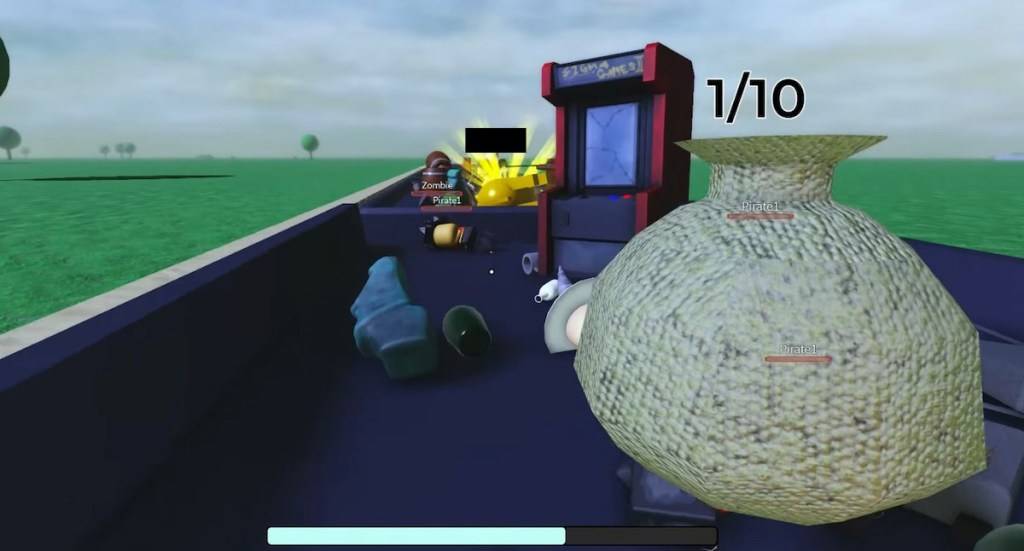
A crucial strategy I discovered while crafting this guide is stacking Zombies near the incinerator. While the urge to flee those remote towns is understandable, efficient loot stacking will serve you well. Running low on fuel? Toss a few Zombies into the incinerator, and you're set.
 Screenshot by Destructoid
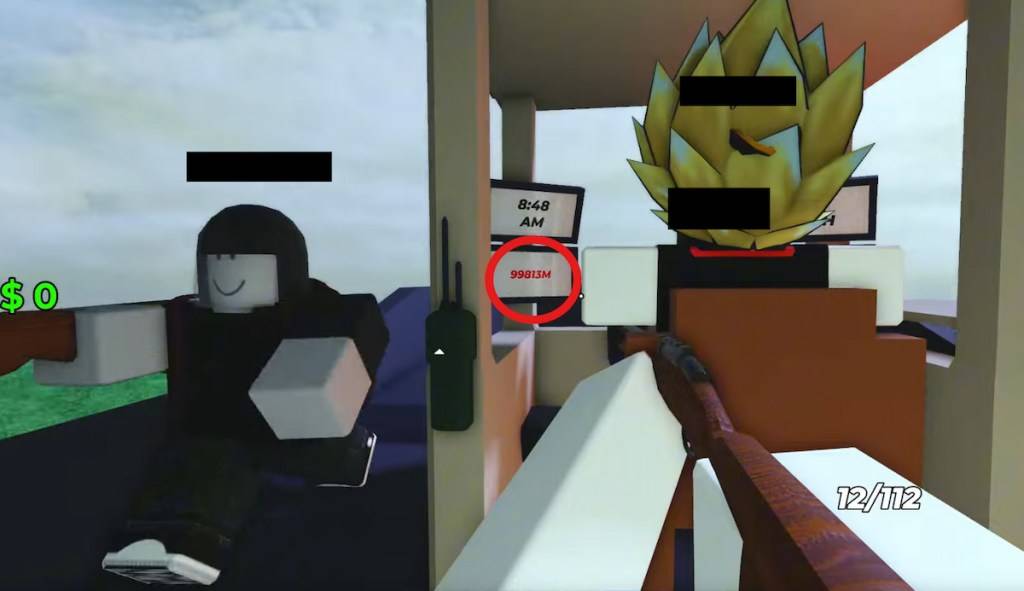
Another valuable tip is to be cautious in Sheriff's offices. These locations often harbor a high concentration of mobs, but also offer substantial rewards in terms of weapons and ammo. I sustained my shotgun's ammo supply for extended periods by having a teammate clear the ground floor while we explored each town.
 Screenshot by Destructoid
Don't squander your ammo, weapons, fuel, and medkits before reaching the fortress at 25,000 meters. This area, still under construction, is prone to ambushes. I suggest tackling it with at least three others, ideally a full five-person team. Be efficient when collecting loot here.
 Screenshot by Destructoid
Likewise, avoid engaging Big Feet beyond 30,000 meters. These formidable foes require a lot of ammo to defeat and hit hard. Don't linger unnecessarily and plan your stops carefully. Remember, loot isn't everything.
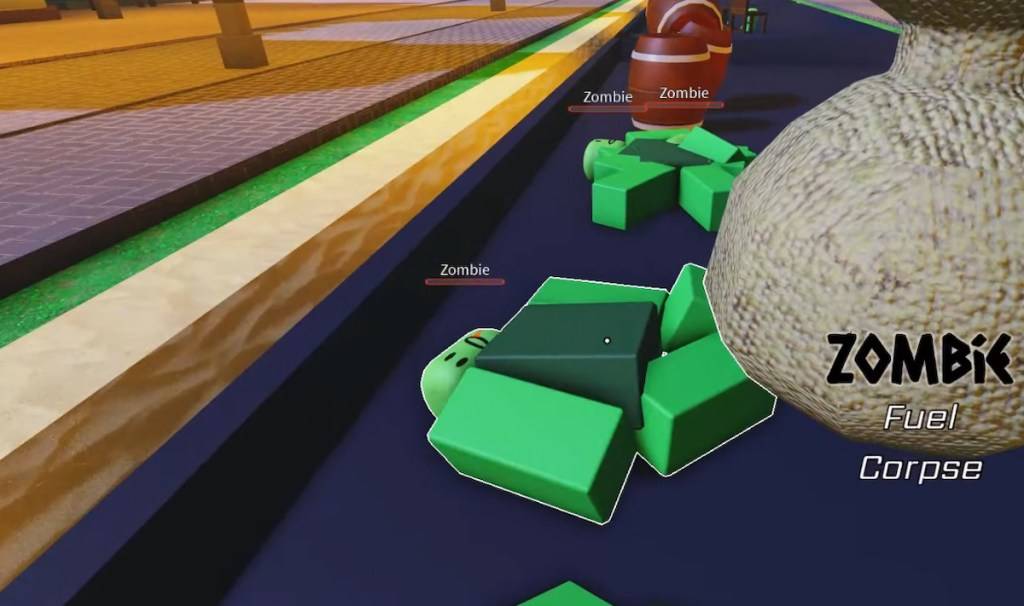
The town past 50,000 meters is one of my favorite farming spots. It's home to at least two dozen Drowned and Zombies, making it an ideal spot for shotgun-wielding teams. It's also an efficient way to gather corpses for fuel, so coordinate with your team to prepare bodies for loading as quickly as possible.
How to Defeat the Kraken Boss in Dead Sails Kraken
Before facing the Kraken, sell all your excess goods in the final safe zone and stock up on ammo, weapons, and medkits. Don't underestimate the Zombies and Drowned; aim to have a minimum stash of 8-10 corpses for fuel during this crucial phase. At around 100,000 meters, you'll reach open waters and be ready to confront the beast. The impending battle will be signaled by darkening skies.
 Screenshot by Destructoid
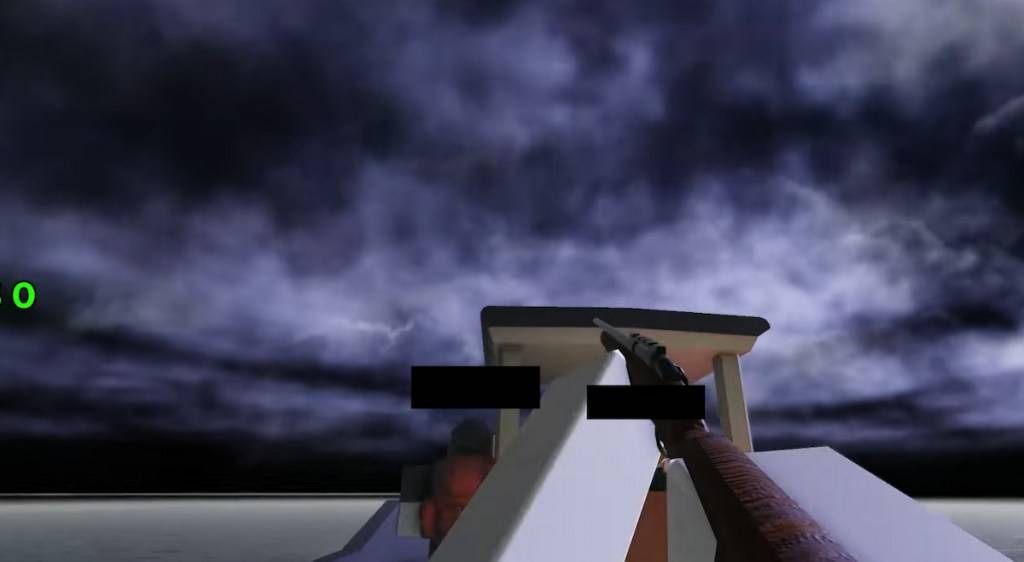 Screenshot by Destructoid
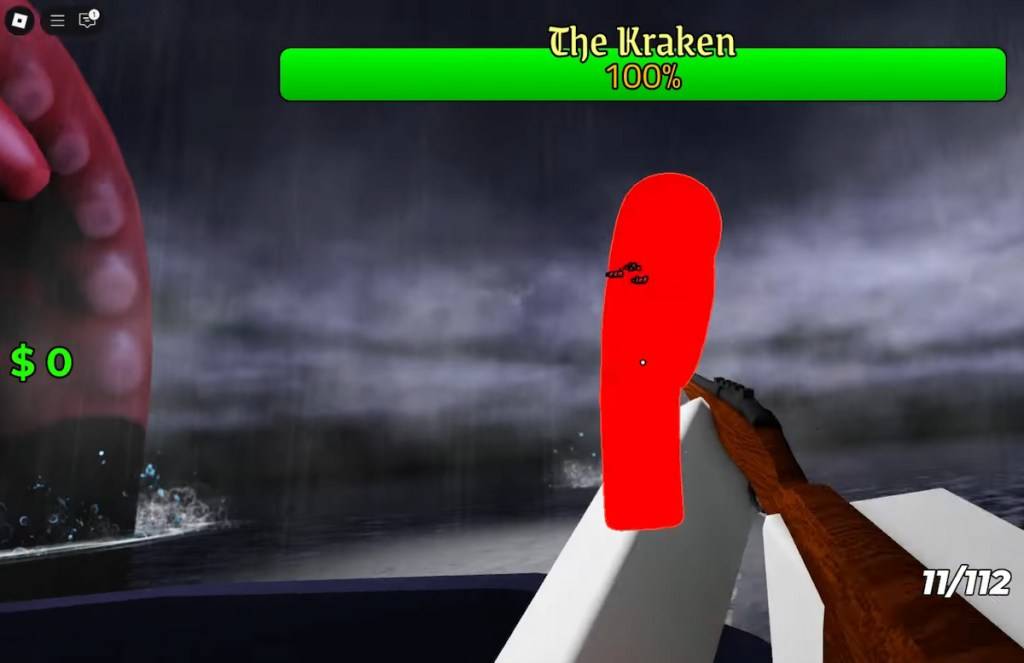
As the Kraken emerges from the water, the camera will zoom out. Each player must target a tentacle, as the boss has substantial health and each tentacle can attack if not properly repelled. With a five-person team, form a pentagram-like shape and let everyone focus on their assigned tentacle.
 Screenshot by Destructoid
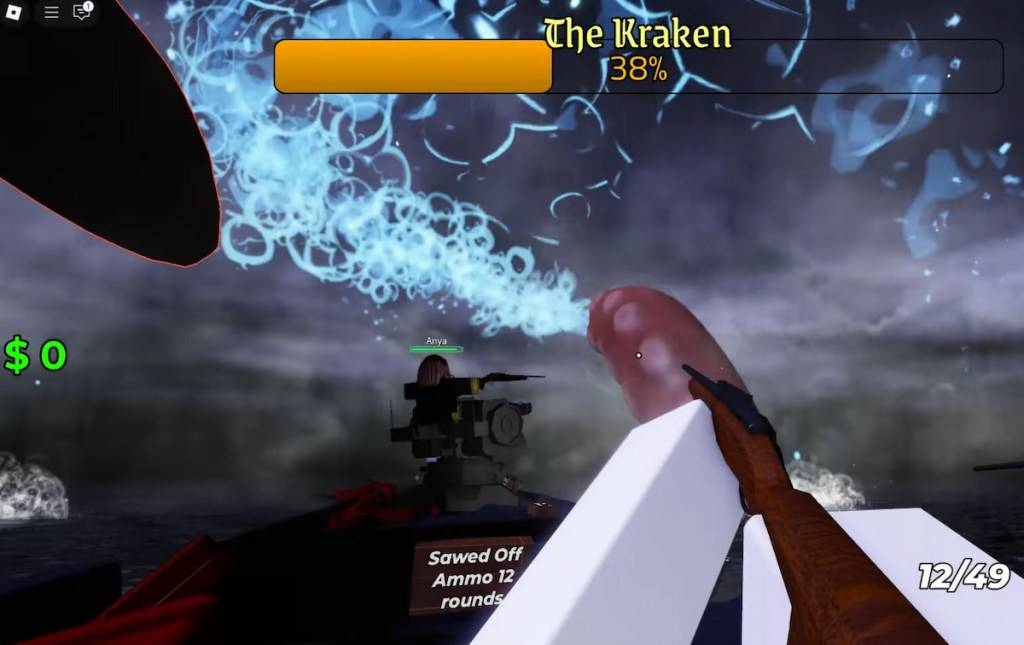
Be mindful of the Kraken's water splash ability, which deals area-of-effect damage and is telegraphed by the tentacle winding back and creating a water trail. Use medkits liberally, as some damage is unavoidable.
 Screenshot by Destructoid
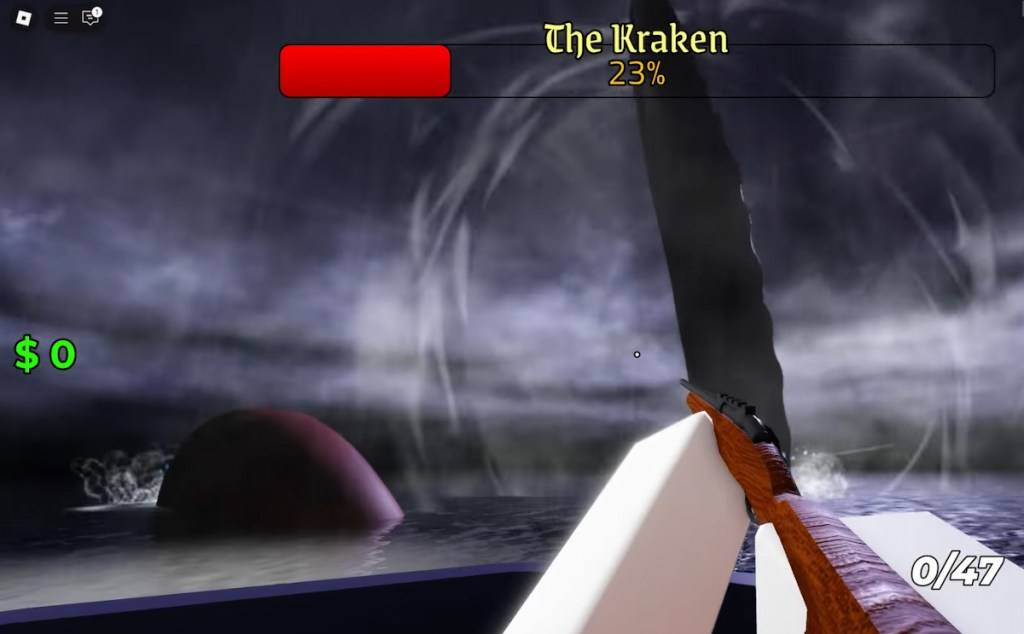
Lastly, watch out for the Roar AoE, which inflicts minor unblockable damage and seems to slightly buff the Kraken's damage output. You'll recognize it by the white concentric circles emanating from the tentacle that used the ability.
 Screenshot by Destructoid
As you can see, defeating the Kraken isn't as daunting as it may seem. That concludes my Dead Sails Kraken Guide. To conquer the boss even faster, consider using one of our Dead Sails codes. Good luck and may your journey be filled with smooth sailing!